So you’ve hunted around on the internet to find a custom font you love and want to use in your marketing … now what?
Good news: the hard part’s over — you’ve found a font you love.
Bad news: so many people get stuck trying to figure out how to start using that lovely font they’ve just discovered, that they give up and settle for Comic Sans (yikes).
Here’s how to install a font on your computer in just a few minutes. Note, these screenshots were taken with specific operating software versions, but the process to install them on other versions should be very similar.
How to Install Fonts on a Mac
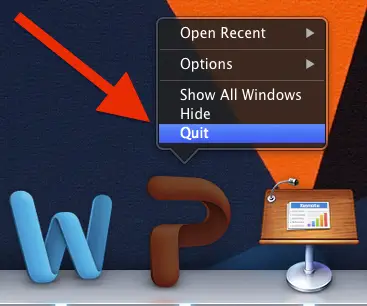
1) Shut down any program you want to use the font in.
Make sure you’re completely shutting down each program, not just hitting the exit button.
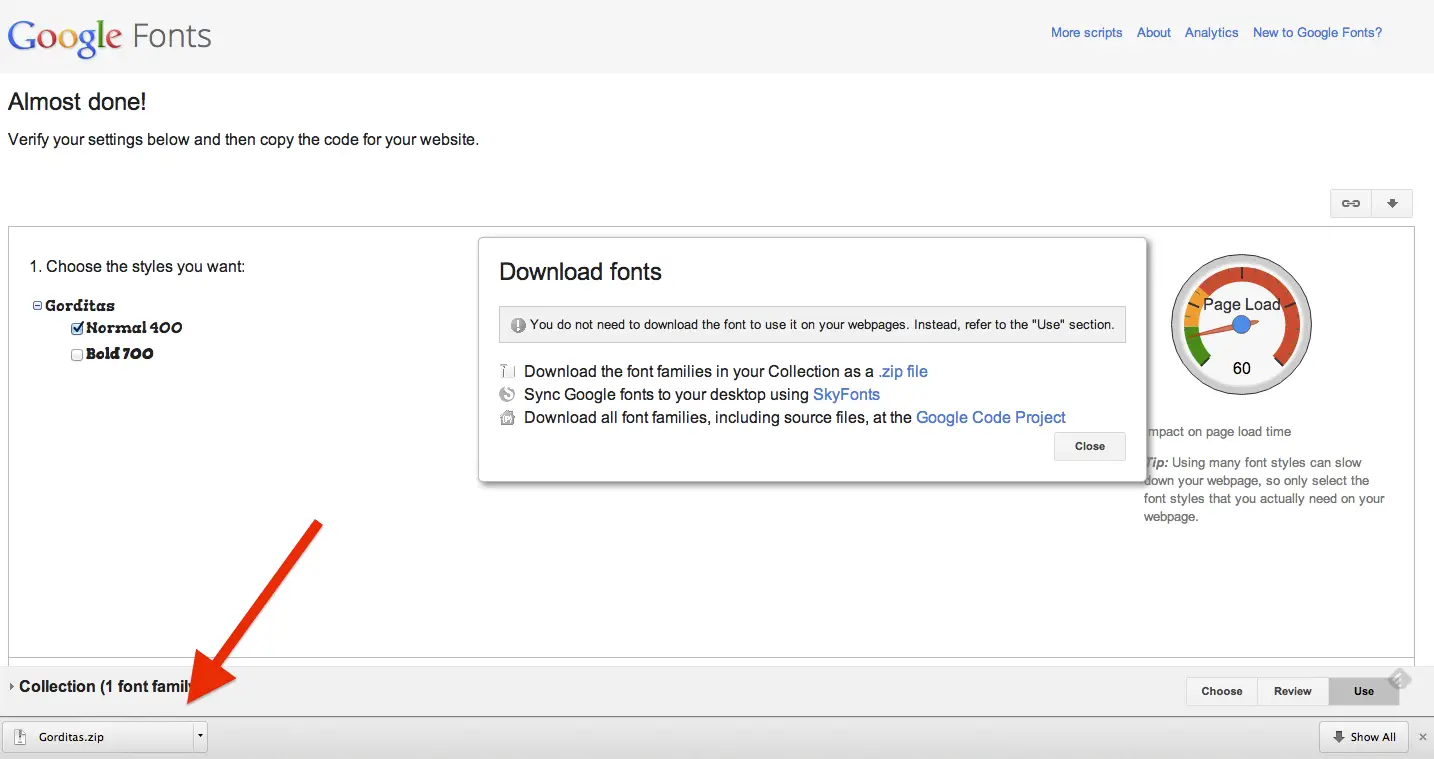
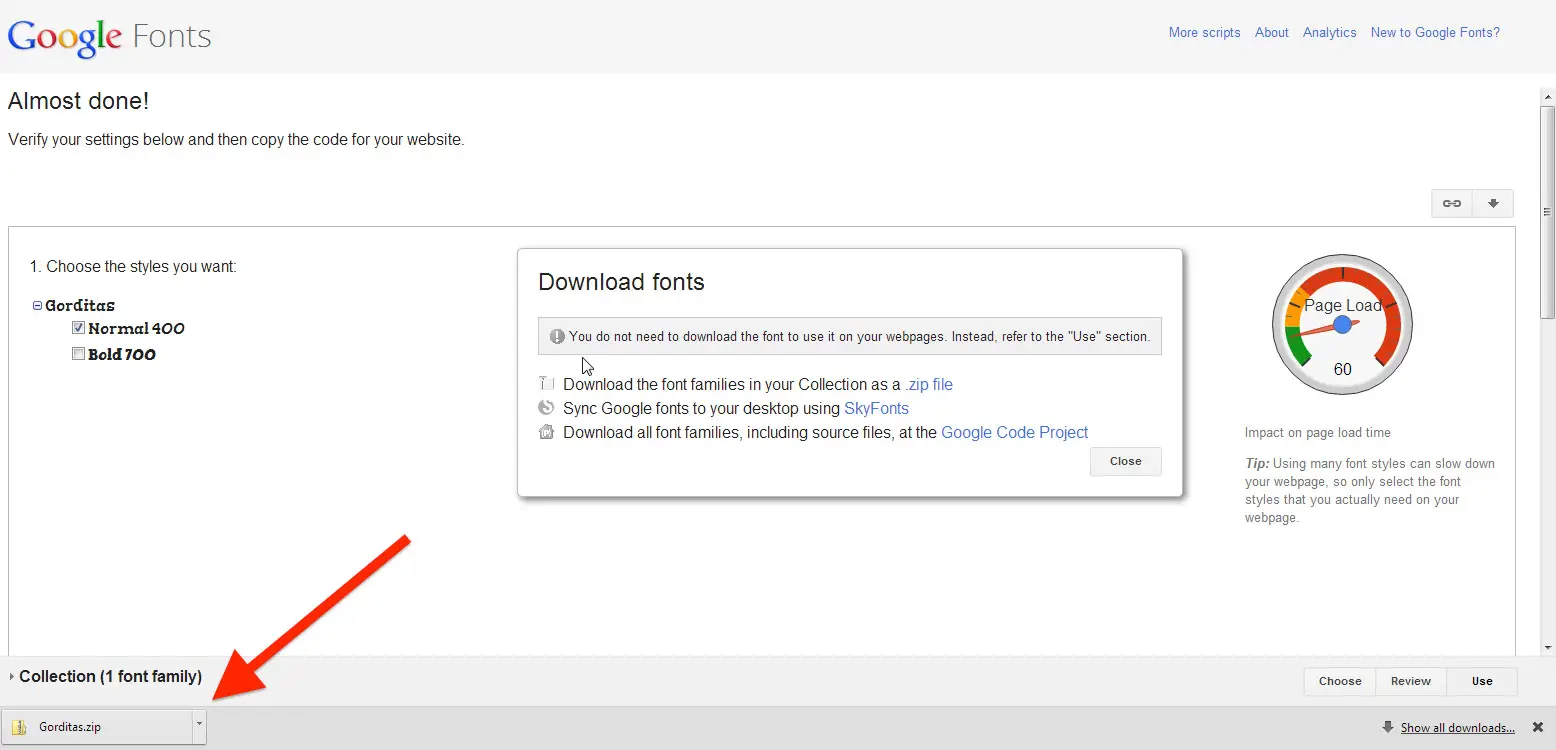
2) Download the font to your computer and extract files if necessary.
Font files may have a .zip, .otf, or .ttf file extension. If it’s a .zip file, you’ll need to extract the compressed files by double clicking on the file — your Archive Utility will automatically unzip the file.

3) Open Font Book.
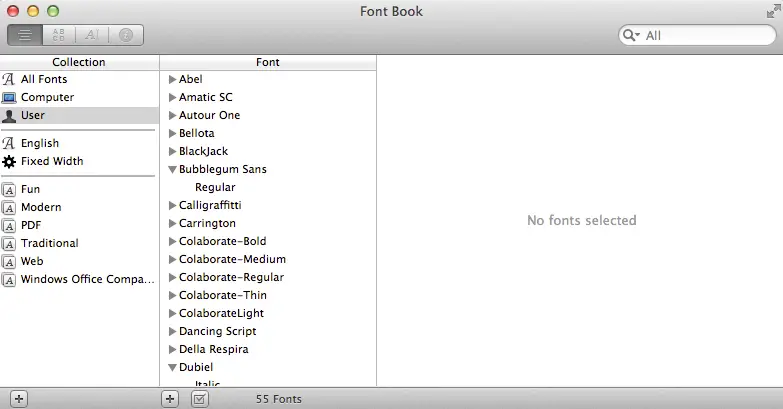
4) Select the fonts in your Downloads folder you want to install and drag them to Font Book.

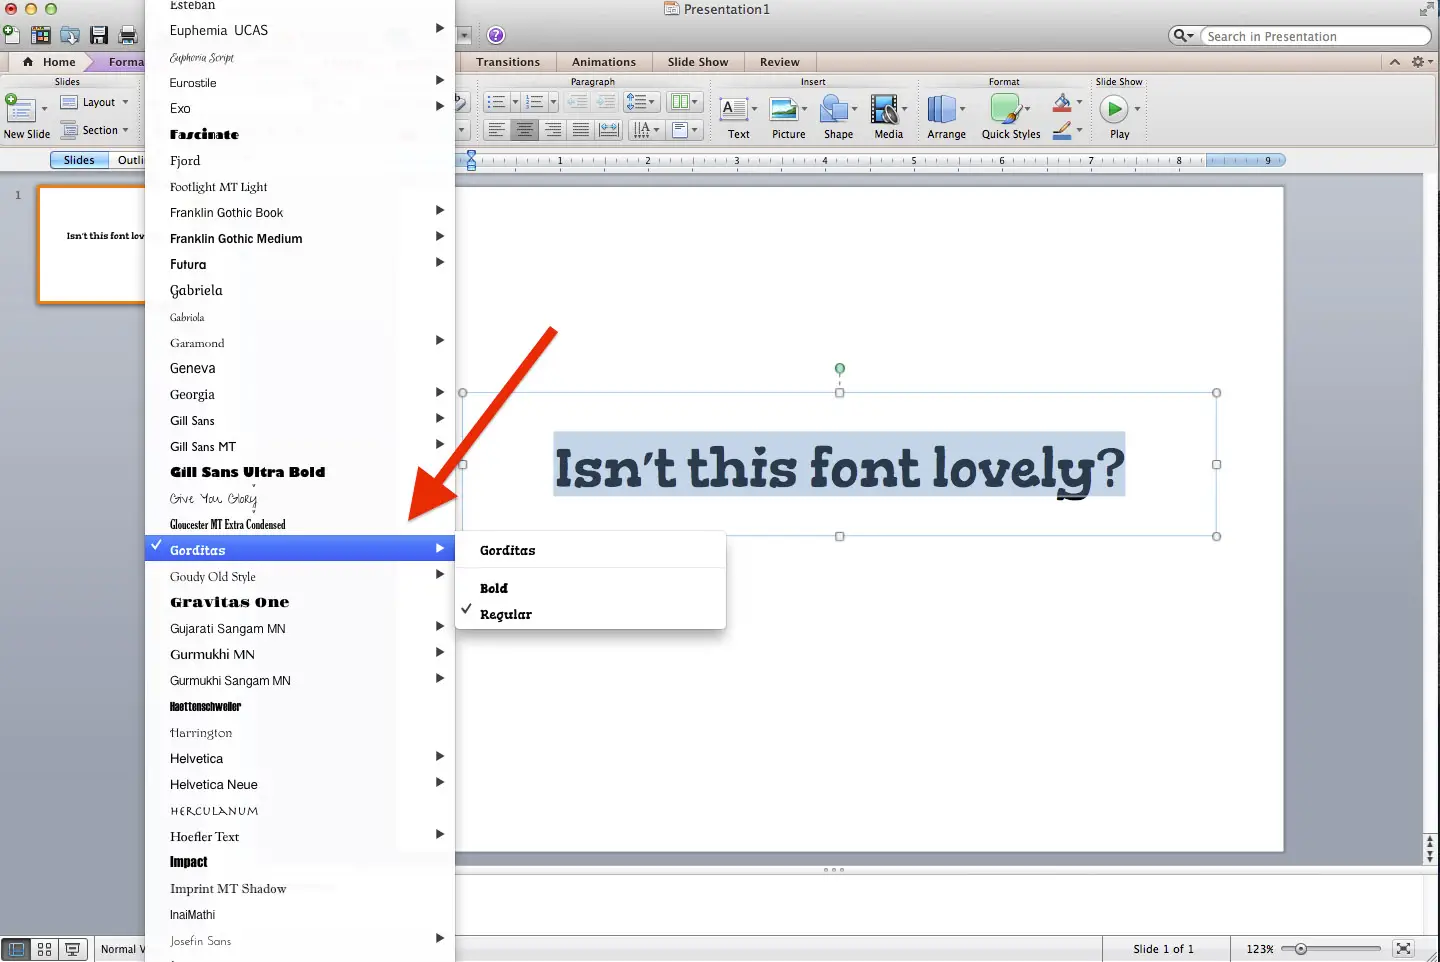
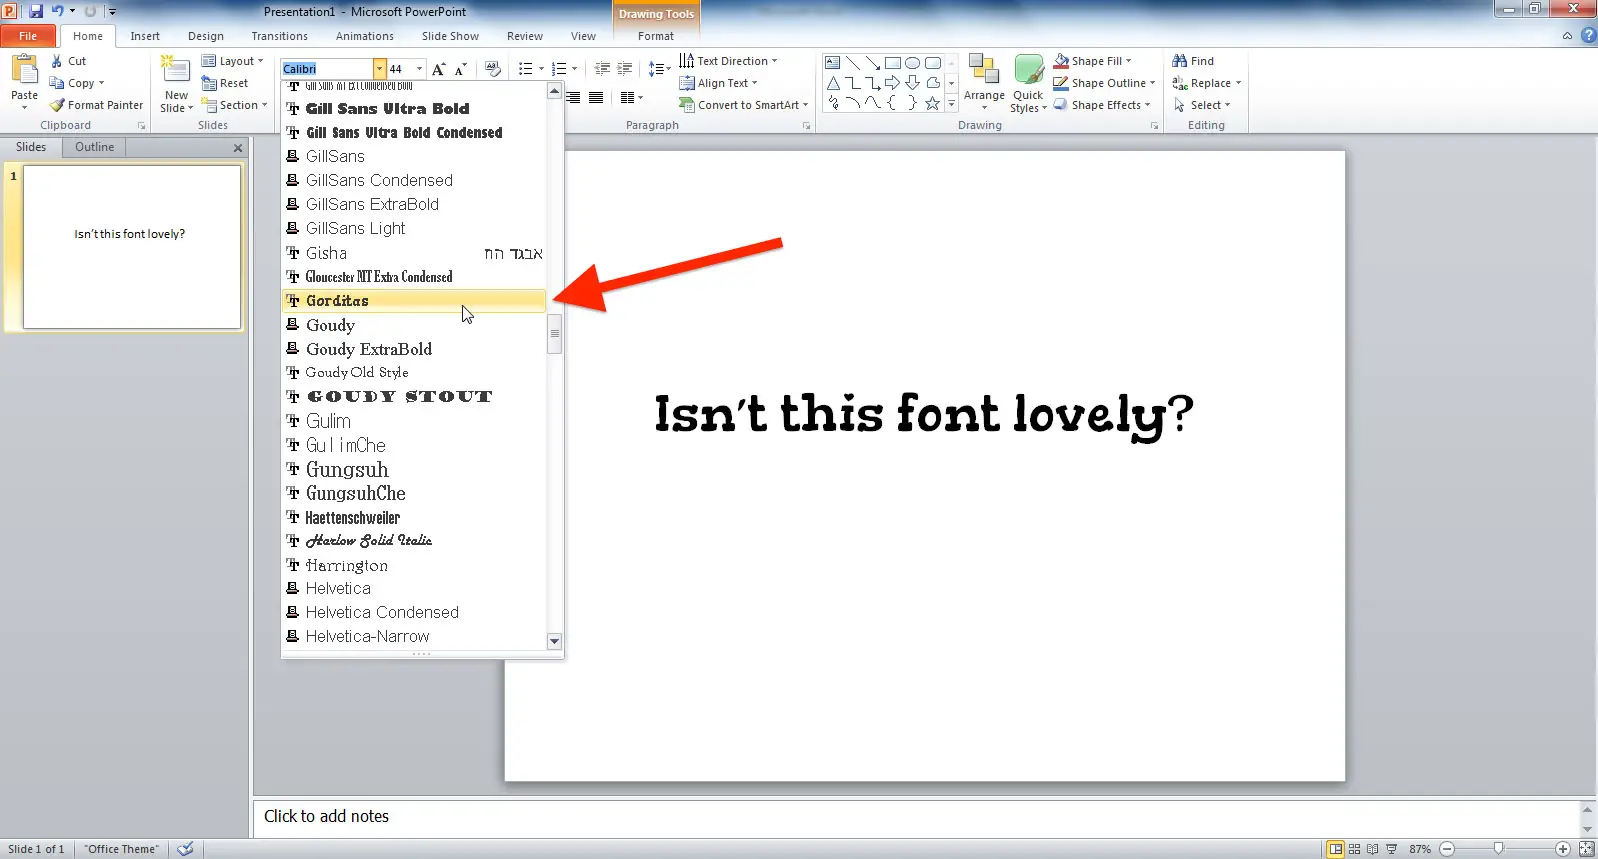
5) Open up the program you’d like to use and the font will be there.
How to Install Fonts on a PC
1) Shut down any program you want to use the font in.

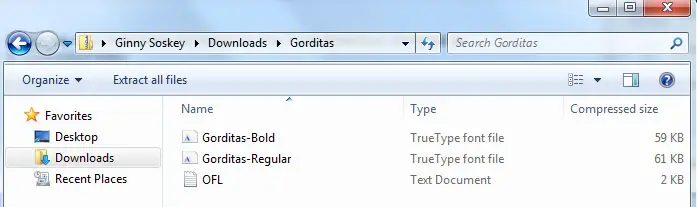
2) Download the font to your computer and open zip files if necessary.
It may have a .zip, .otf, or .ttf file extension. If it’s a .zip file, you’ll need to extract the compressed files by double clicking on the file — your computer will automatically unzip the file and open the folder inside.
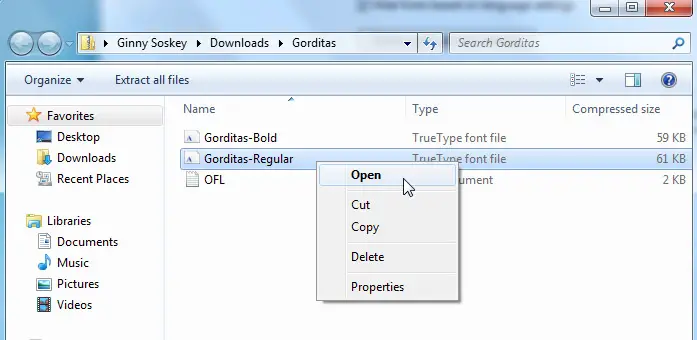
3) Right click on each font you’d like to add, then choose “Open.”
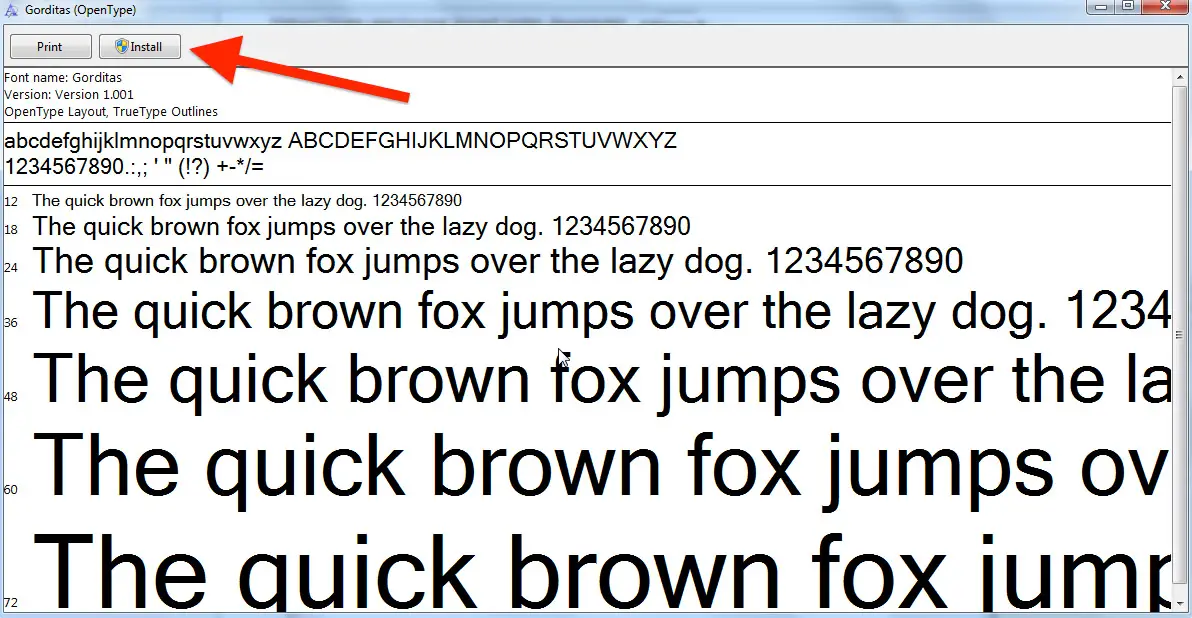
4) Once open, click “Install” to add the font to your computer.
5) Open up the program you’d like to use and the font will be there.
And voila! You’re ready to use the font in any program on your computer.
credit: https://blog.hubspot.com/marketing/how-to-install-custom-fonts-on-your-computer-quick-tip